PREPPING: WHERE TO BEGIN?
5 STEPS FOR EMERGENCY PREPAREDNESS ON A BUDGET
5 STEPS FOR EMERGENCY PREPAREDNESS ON A BUDGET
AT FIRST IT CAN SEEM OVERWHELMING TO THINK ABOUT “GETTING PREPARED.” GO BAGS? STOCKING UP ON WATER AND FOOD?? RAINWATER CISTERNS??? ALL OF THIS STUFF CAN QUICKLY ADD UP! WHERE SHOULD YOU START WHEN THERE’S SO MUCH TO DO?
TAKING THINGS ONE STEP AT A TIME CAN NOT ONLY MAKE PREPPING FINANCIALLY VIABLE, BUT CAN ALSO HELP EASE SOME OF THE ANXIETY RELATED TO STARTING THE PREPAREDNESS JOURNEY.
TAKING THINGS ONE STEP AT A TIME CAN NOT ONLY MAKE PREPPING FINANCIALLY VIABLE, BUT CAN ALSO HELP EASE SOME OF THE ANXIETY RELATED TO STARTING THE PREPAREDNESS JOURNEY.
|
|
STEP 1: MAKE PLANS
- Create a home fire evacuation plan (which exits to use, where to meet after an evacuation).
- Decide who will pick up your kids from school if you can’t be reached after a disaster
- Choose an out-of-state contact person to call if you can’t get through to each other by phone or text after a disaster
- After a disaster how will you get home if roads are impassable, and where will you stay if you can’t get home right away?
- Decide on a designated place to meet back up with your family members if your home is not accessible.
STEP 2: GET EDUCATED
- Where is the closest designated disaster shelter?
- What are the tsunami or hurricane evacuation routes?
- Does your neighborhood have an emergency preparedness group? If not, can you start one?
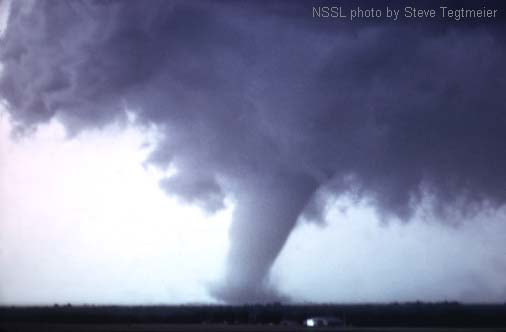
- What emergencies are likely to occur in your area? Hurricanes? Tornados? Flooding? Earthquakes? Tsunamis? If your area gets Tornados, then shelter is a BIG priority. Earthquakes? Store your supplies so they won’t be damaged or unreachable after the Big One.
- What resources are available in your community?
- Where is the closest designated disaster shelter?
- What are the tsunami or hurricane evacuation routes?
- Does your neighborhood have an emergency preparedness group? If not, can you start one?
- How long should you prepare to be on your own after a disaster? In some places, like large metropolitan areas, it’s recommended to have enough supplies for 72 hours. Out on the semi-rural island where I live we’re told to have enough food and water to last 4 weeks!

STEP 3: TAKE INVENTORY
There are lots of items you need for emergency preparedness that you probably already have – Hurray!
There are lots of items you need for emergency preparedness that you probably already have – Hurray!
- can opener
- food (spaghetti, mac-n-cheese, canned food)
- water containers (Like old milk jugs – wash them out with soap/water and bleach)
- a hot water heater – these usually hold 80 gallons of water
- flashlights, candles
- BBQ grill
- batteries
- camping gear (esp. pocket knives, sleeping bags, a tent, camp stove)
- first aid supplies (aspirin, Tylenol, ibuprofen, Benadryl, antacids, band-aids)
- fishing poles/equipment
- back packs
- duct tape
- a smart phone
 |
 |
 |
 |
 |
THere are some great emergency preparedness apps for your smart phone - Check them out!
|
|
|
STEP 4: GET STARTED, BUT PRIORITIZE
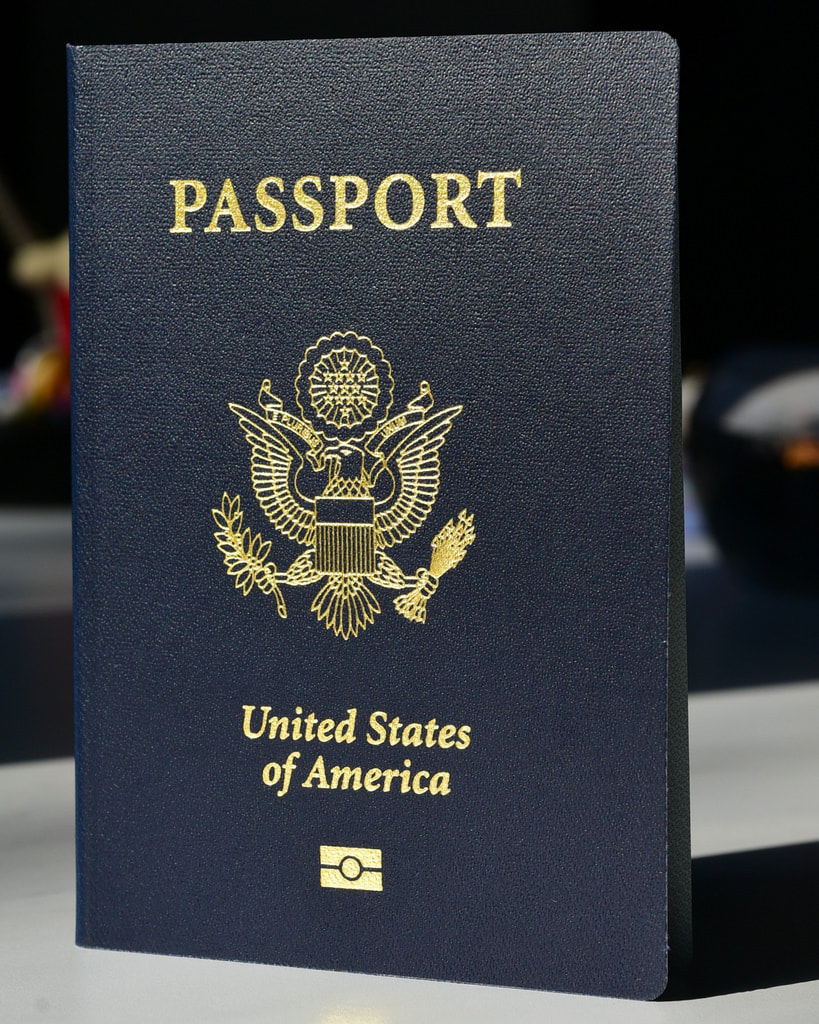
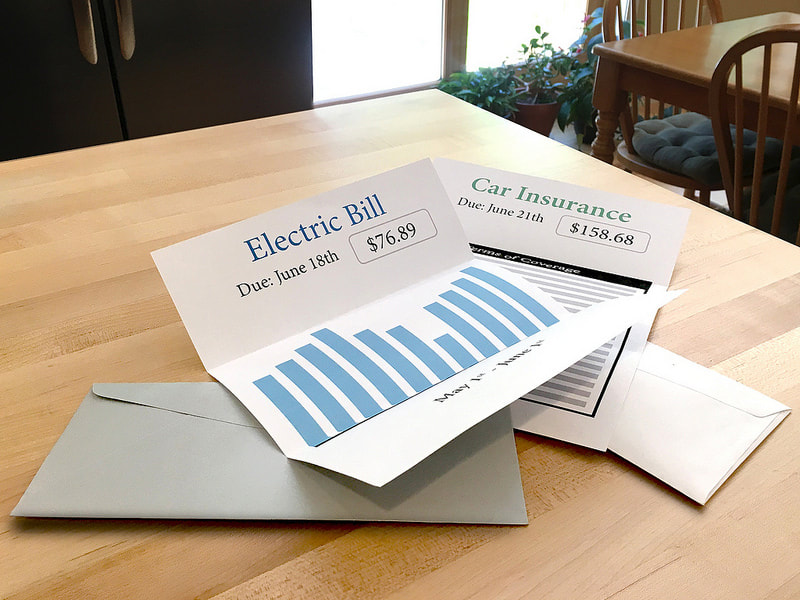
1) INFORMATION: Gather hard copies of important information (remember, your phone may not work, or it may get wet, or broken, or lost!). Keep them in the go-bag in your car.
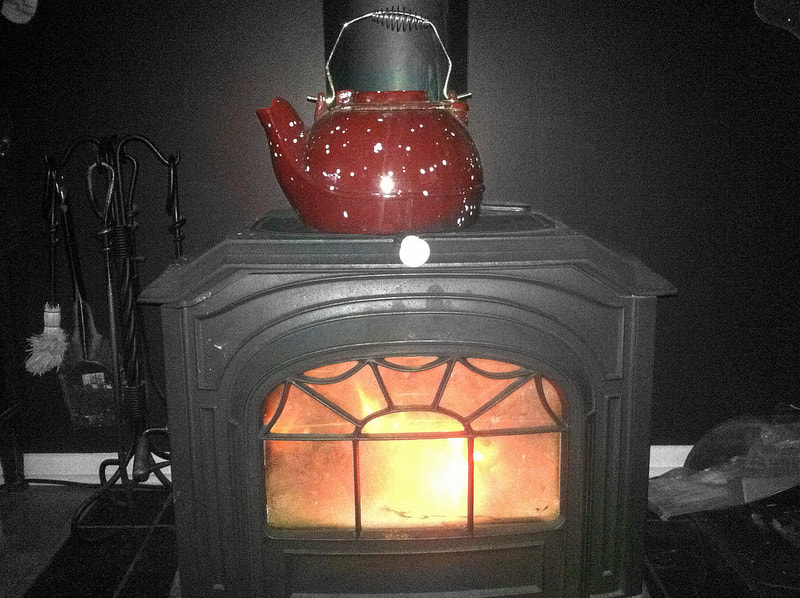
2) SHELTER: Extreme cold or heat could make staying in an otherwise well stocked home very difficult. - How will you and your family stay warm at home without electricity
- How will you cool off without air-conditioning (or ice)?
- What if you are stuck in your car for a while?
|

|
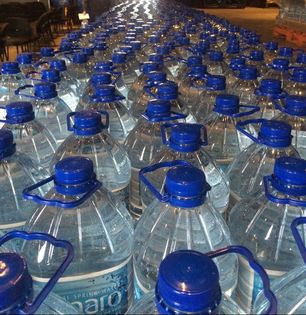
3) WATER: We can only survive 3 days without any water, so it’s a definite top-priority preparedness supply. We’re supposed to have at least 1 gallon per person per day.
- Keep a gallon of water in your car, and/or a water filtering water bottle.
- Start with storing a 3-day supply of water, then move on to gathering a 7-day supply, then a 14-day supply, and so on.
- 1-gallon jugs at the supermarket usually cost $1 or less.
- A blue BPA-free barrel can hold 55 gallons. You can add a small amount of bleach to the water and it will stay good for a year before re-treatment is needed (1/8 tsp. per gallon, or 7 teaspoons for a 55-gallon barrel).
- Your hot water tank probably holds 80 gallons – you can drink that! If there is earthquake or a tornado, however, be sure to turn off the water to your house ASAP in order to protect the water quality of the water in your hot water heater and in your pipes. You can always turn it back on if the local water supply is determined to be OK.
4) FOOD: You can survive 3 weeks without food, but let’s not put that to the test!
- Start by stocking up on 3 days of food, then 2 weeks (buy 1-2 extra items at the grocery store each trip). You don’t need commercial survival foods –buy food you and your family will actually eat, just a bit more of it.
- Watch for sales.
- Buy bulk (Costco, Sam’s Club). Save money by purchasing in bulk with friends and/or neighbors!
- Clip coupons.
- Start gardening and learn to can to preserve the bounty. Join a community pea patch if you don’t have space at home.
- Your 72-hour pack (for car) should have food, too (beef jerky, protein/energy bars, dried fruit/nuts) Use it in mini-emergencies like tired-kid-meltdown situations, then restock!
FOOD TIP:
Don't stock up on food that youR family doesn't normally eat
just because it's on sale.
In an emergency situation comfort food is a priority
you & your kids will feel much better eating food that’s familiar.
5) HYGIENE: Just the basics, and these items aren't very expensive, but they're still nice to have:
- Extra (non-electric) toothbrushes and toothpaste
- Extra toilet paper -- It's SO much nicer than wiping with pages from the phone book....
- Baby wipes – for “sponge baths” when you can’t take a shower
- Sturdy black plastic garbage bags, extra toilet paper and kitty litter will take the place of functional indoor plumbing in a pinch (put the bag in the toilet and throw kitty litter on tip after each use.)
- Dry shampoo can keep your hair from feeling greasy so you can “splurge” on real hair washing once per week.
STEP 5: SPREAD THE WORD
If your family and friends are ALSO prepared for disasters then you won't have to feed and house all of them yourself after one hits!
If your family and friends are ALSO prepared for disasters then you won't have to feed and house all of them yourself after one hits!
- Encourage your friends and neighbors to come with you to Costco or Sam's club and offer to split the cost on bulk purchases of food, water and extra TP!
- Ask if your child's school has an emergency/disaster plan
- Ask the same thing of your employer
- Organize your neighborhood into a disaster preparedness group -- the Map Your Neighborhood program started in Washington State lays out just how to do this - down to the neighborhood invitation and a guide for running your first neighborhood meeting!